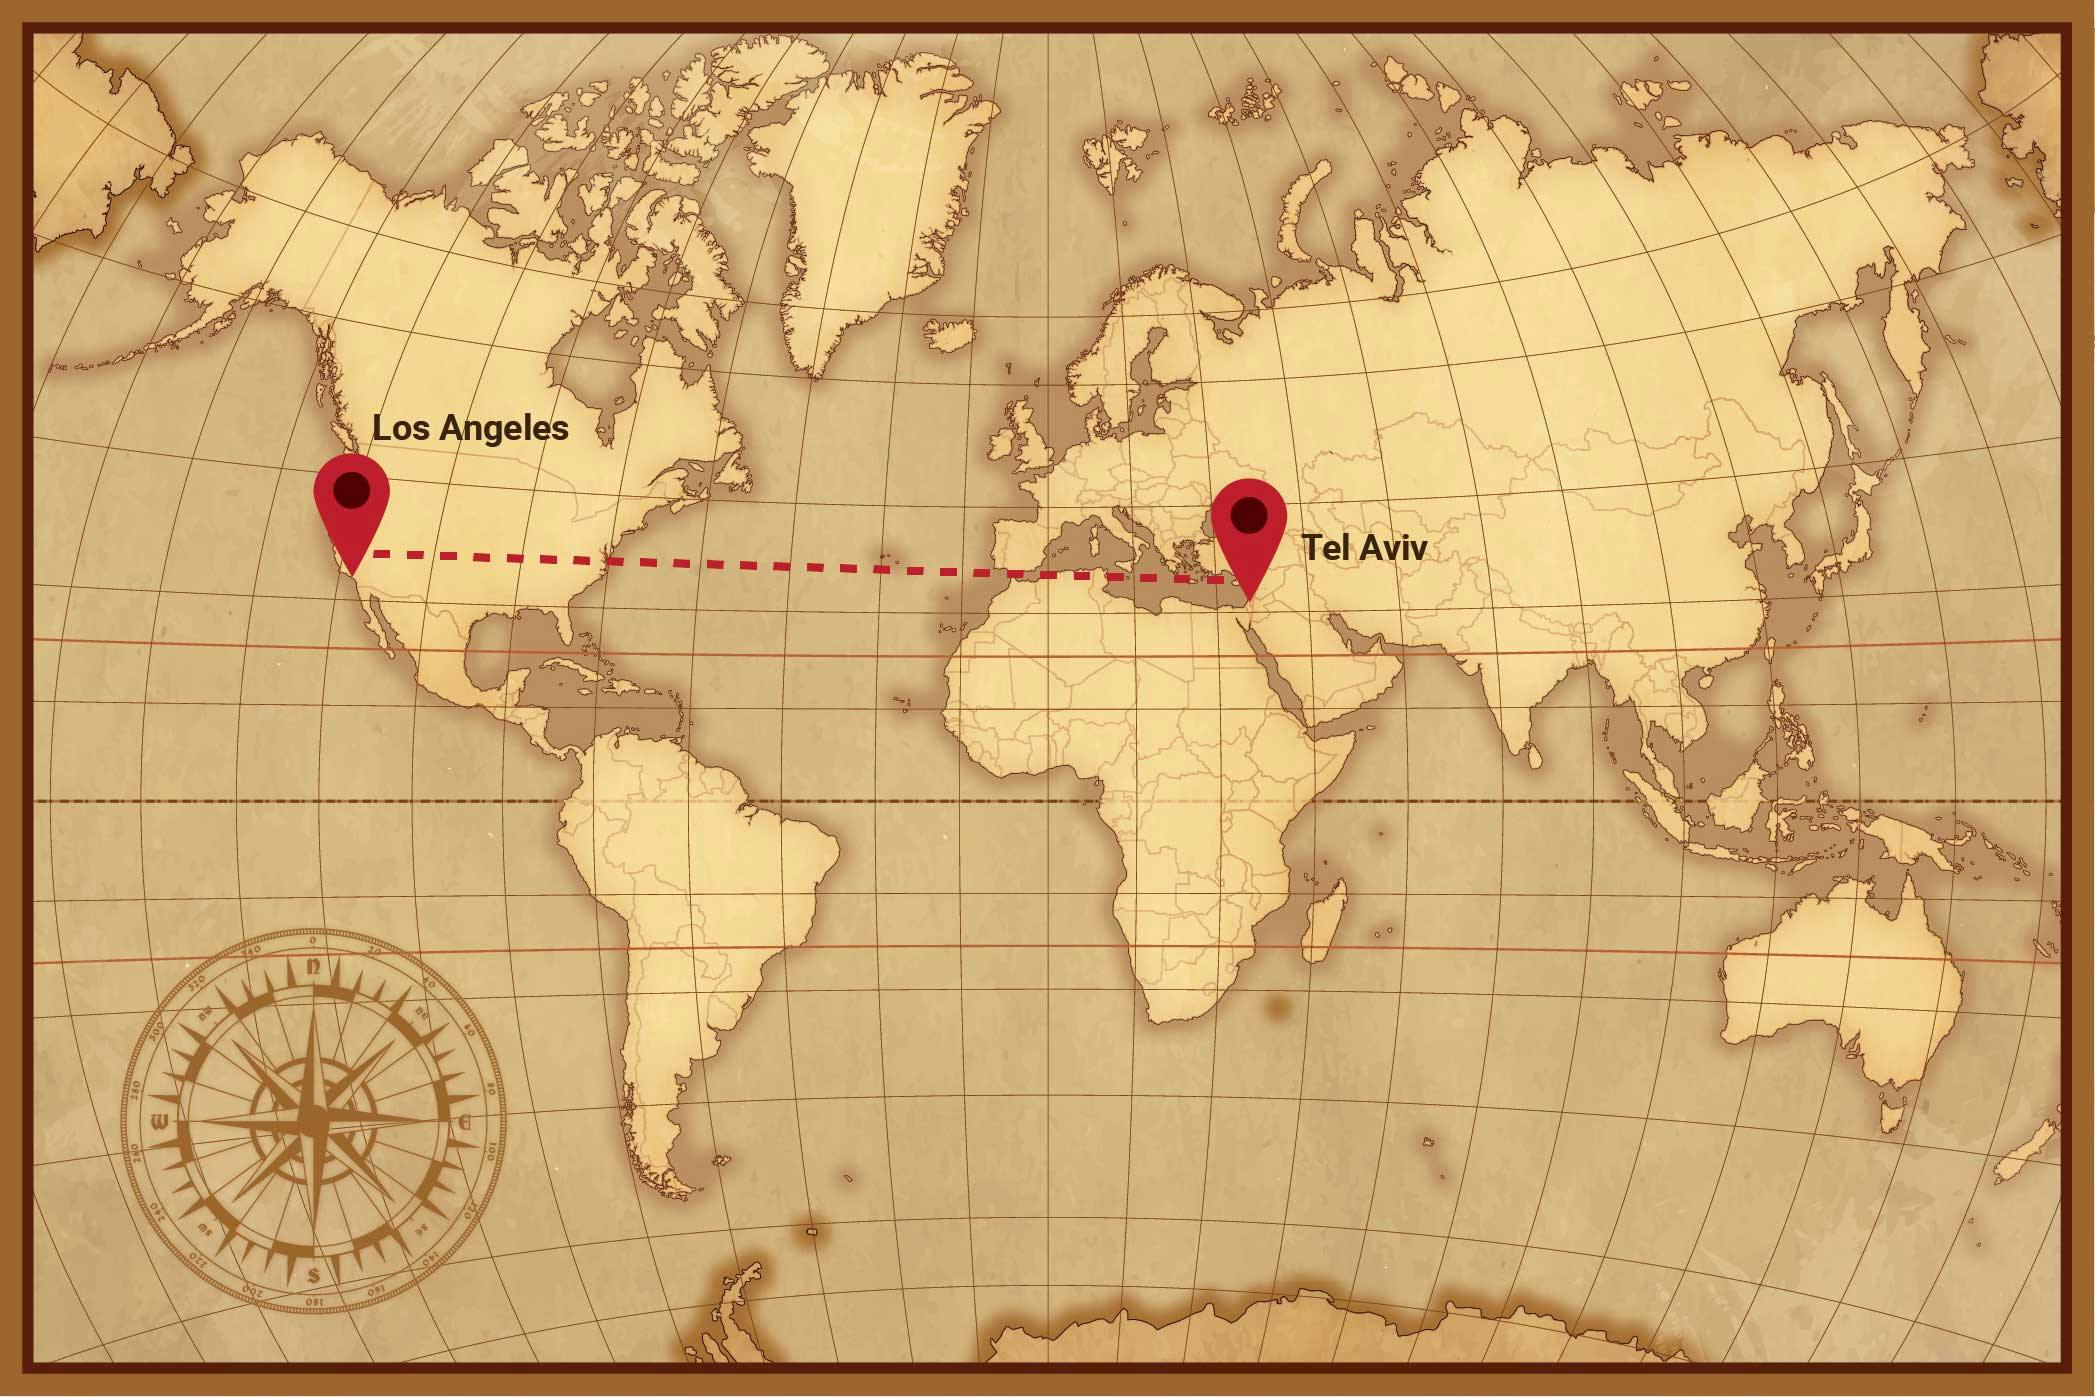
I have family all over the world - San Francisco, Las Vegas, New York, Belgium, Portugal, and Israel - but I was born and raised in Los Angeles (West Coast: best coast!). Communicating with them is easy nowadays with tools like WhatsApp and Instagram. But sometimes I think about what it would be like if we didn’t have edge servers. How long would my text messages take to send? Would my video calls to my cousins in Tel Aviv be blurry because of the latency?
Edge servers play a crucial role in facilitating communication from one country to another by optimizing content delivery, reducing latency, and enhancing reliability. Latency, or the delay in data transmission, can significantly impact the quality of real-time communication, such as voice calls and video calls. By deploying edge servers in proximity to users, communication latency can be minimized. When users in different countries communicate, like when I make a call from Los Angeles to Israel, their data can be routed through nearby edge servers, reducing the time it takes for data packets to travel between them. This ensures smoother, more responsive communication experiences across borders.

Tailoring Customer Experience with Geolocation
Let's consider an example where my family is planning a reunion and we are planning to meet in Hawaii. All of us, from our different locations around the world, start searching for flights.
As I browse through travel sites, advertisers can use geolocation data to determine my location (Los Angeles) and preferences (nonstop flight, Delta preferred). Based on this information, advertisers can deliver targeted advertisements to me, tailored specifically for travelers in Los Angeles interested in visiting Hawaii. These advertisements might include special flight deals from Los Angeles International Airport (LAX) to Honolulu, discounts from Delta, or local attractions and activities in Oahu. By personalizing the content to my location and specific interests, advertisers increase the relevance and effectiveness of their advertisements. Who would have thought ads could be a good thing?!
Meanwhile, my family in Portugal is also planning their trip to the family reunion in Hawaii. As they conduct their own online research and browse travel-related websites and apps, advertisers can use geolocation data to target them with tailored advertisements relevant to their location (Portugal) and their preferences (maximum one stop, preferred TAP Air Portugal, etc). These advertisements might include flight options from Lisbon Airport (LIS) to Honolulu, taxi services in Lisbon, vacation rental deals in Maui, or recommended activities and tours in Kauai. By personalizing the content to their location and interests, advertisers increase the likelihood that my family will engage with the advertisements.
In this example, geolocation technology enables advertisers to deliver highly targeted and relevant advertisements to me and my family based on our respective locations and preferences. By tailoring the content to each audience, advertisers are increasing the effectiveness of their advertising campaigns and providing valuable information and offers that resonate with each individual's interests and travel plans.
It's clear how tailored content can enhance the effectiveness of advertising campaigns. Now, the question arises: how can businesses implement similar strategies in their own campaigns? One approach is to leverage EdgeWorkers to develop microservice geolocation APIs. By integrating these APIs into their ad serving infrastructure, businesses can dynamically retrieve location information about users, allowing for the delivery of targeted and relevant advertisements based on their preferences and travel plans.
Implementing Geolocation using EdgeWorkers
Now, how would we implement something like this from the example we just went through? Let’s use Akamai Edgeworkers to implement a microservice geolocation API call that returns location information about the client.
Before you get started, you’ll need an Akamai Account with access to Edgeworkers or you can sign up for our free EdgeWorkers trial to follow the tutorial below.
Step 1: Create an EdgeWorkers ID
Log in to your Akamai account and navigate to EdgeWorkers from the left panel.
Then, click on Create EdgeWorkers ID. Enter a name for your EdgeWorker, in this case, familyreunion. After that, select a group, and resource tier. EdgeWorkers resource tiers currently include dynamic compute and basic compute. Each tier has different limits for CPU time, wall time, and memory consumption which you can see listed at the bottom of the form.
After you click Create EdgeWorker ID, you’ll see this success message.
Step 2: Modify Property Behavior
Now, we need to update the property to execute the EdgeWorker ID (familyreunion) we created in step 1. We do this through the Property Manager which is located on the left panel. Once you’ve done that, simply click on ‘Properties,’ then click on familyreunion.
Step 3: Create Code Bundle
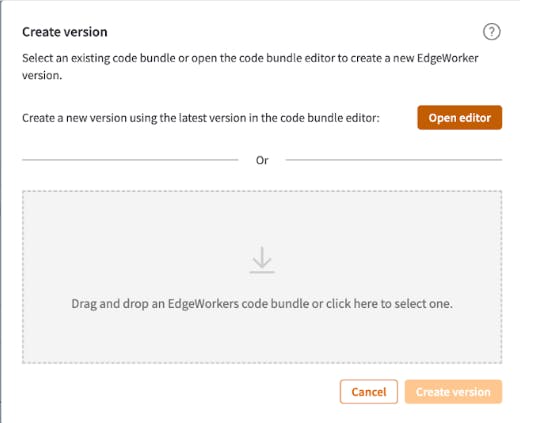
To make this work, we need to create a new version of the property. Click on ‘Create version.’
Now, let’s open the code editor to add in our code. Click on ‘Open editor.’

Next, you’ll see the two files we need to edit, main.js and bundle.json.
Let's start with the first file, main.js:
export function onClientRequest (request) {
  var info = {};

  info.continent = (request.userLocation.continent) ? request.userLocation.continent : 'N/A';
  info.country = (request.userLocation.country) ? request.userLocation.country : 'N/A';
  info.zip = (request.userLocation.zipCode) ? request.userLocation.zipCode : 'N/A';
  info.region = (request.userLocation.region) ? request.userLocation.region : 'N/A';
  info.city = (request.userLocation.city) ? request.userLocation.city : 'N/A';

  info.source = 'Akamai EdgeWorkers';

  request.respondWith(200, {}, JSON.stringify({ geoInfo: info }));
}
This code retrieves information about the client's location (e.g., continent, country, zip code, region, and city) and constructs a response containing this information. Let’s walk through what each part of the code does:
First, the function named
onClientRequest, is a standard Akamai EdgeWorkers function that runs when a client makes a request.Second, the function extracts geolocation information from the
request.userLocationobject, which is provided by Akamai EdgeWorkers and contains information about the client's location based on their IP address.Then, if certain geolocation information is not available (e.g., if the client's location cannot be determined), the function assigns default values ('N/A') to the corresponding fields in the info object.
Finally, the function constructs a response containing the extracted geolocation information (info object) and sets the response status code to 200 (OK).
Now it’s time to move on to the second file we need to edit, bundle.json, which includes metadata for the EdgeWorkers script:
{
  "edgeworker-version": "0.1",
  "description" : "Reply instantly with a formatted JSON containing location information."
}
The code in bundle.json provides a description of what the EdgeWorker script in main.js does. It states that the script is designed to respond immediately with a JSON-formatted message containing location information.
Now it’s time for us to create a new version by clicking on the ‘Create version’ button on the bottom of the popup screen, and then click ‘Create version’ again on the bottom of the main property page. This will save your code bundle.
Step 4: Deploy EdgeWorker
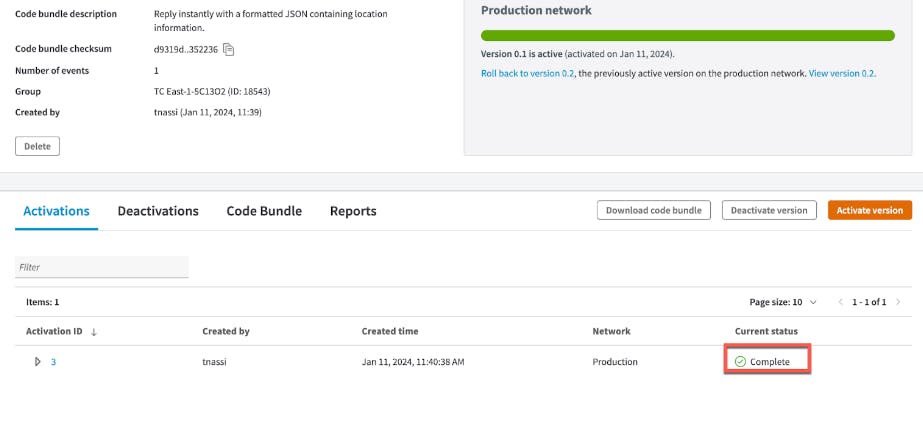
At this point, we need to make this live in production by clicking ‘Activate version,’ and make sure you select ‘Production’ as your network. (If you’re testing something out or using a staging environment, feel free to use staging, but note that you’ll have to create another version when you’re ready to deploy to production).

We’re almost done, and at this point, you should see the status changed to ‘Complete’.

Now all we need to do is modify the property and add a rule that says if the path matches /ew, then it will activate the EdgeWorker. (For real world applications, you would enter your URL where you need geolocation data here). To do this, you’ll need to navigate to ‘Properties’ in the left panel, search for your property, scroll down, and click on ‘Add Rule.’ Be sure to click ‘Save.’
Step 5: Test Edgeworker
And that’s it! Now, we need to test our geolocation EdgeWorker. Let’s go to the URL we set up and enter the path /ew.
So in this example, we utilized Akamai EdgeWorkers to retrieve location data. Now that it’s set up, I’m able to use this location data to customize user experience on this website. So I could send targeted ads for TAP Portugal airlines for my family in Portugal, or I could advertise taxi or rideshare services in that area.
Next Steps
There are lots of ways to leverage this tool. For example, a business could target advertisements relevant to my family reunion. This could also be used to customize user experience with targeted marketing and promotions in e-commerce. Here are a few more ideas to try out if you’re looking for more ways to leverage Geolocation using Akamai EdgeWorkers:
If you’re making a weather app, you could use this geolocation code to display the weather based on your location
If you’re making a food delivery app, you could use this geolocation code for location data to deliver your food
If you’re building an e-commerce app, you could use this geolocation code to get location data to advertise best-selling products in that region
For more EdgeWorkers code and tutorials, head to edgecompute.live. To find documentation, head to EdgeWorkers TechDocs.
Thanks for reading! For all things cloud, follow me by clicking the follow button at the top of this page, subscribe to my newsletter below, and follow me on Twitter!

